
Over-Wintering and Planting Dahlias:
Dahlias are a bright beautiful staple late summer to first frost in our gardens. They are an incredibly sturdy cut flower as well. Unfortunately, in our zone, (Zone 6a) these tropical jewels are far from winter hardy. When blooms start to fade, and the temperature begins to drop, it’s time to prepare our beloved dahlias for winter storage.
Once the first killing frost has frozen stalks and greens, and any remaining flowers have died; cut stems 2-4” from the ground. Removal of the vegetative matter keeps water from running into the tubers, which causes them to rot in the ground. Following this initial cut, leave the tubers in the ground with shortened stems for about 2-3 weeks.
Colder temperatures signal the tubers that it’s time to go into ‘resource conservation mode’. No more pumping energy into producing blooms or foliage. Valuable energy must be stored in the tubers to sustain the plant through dormancy.
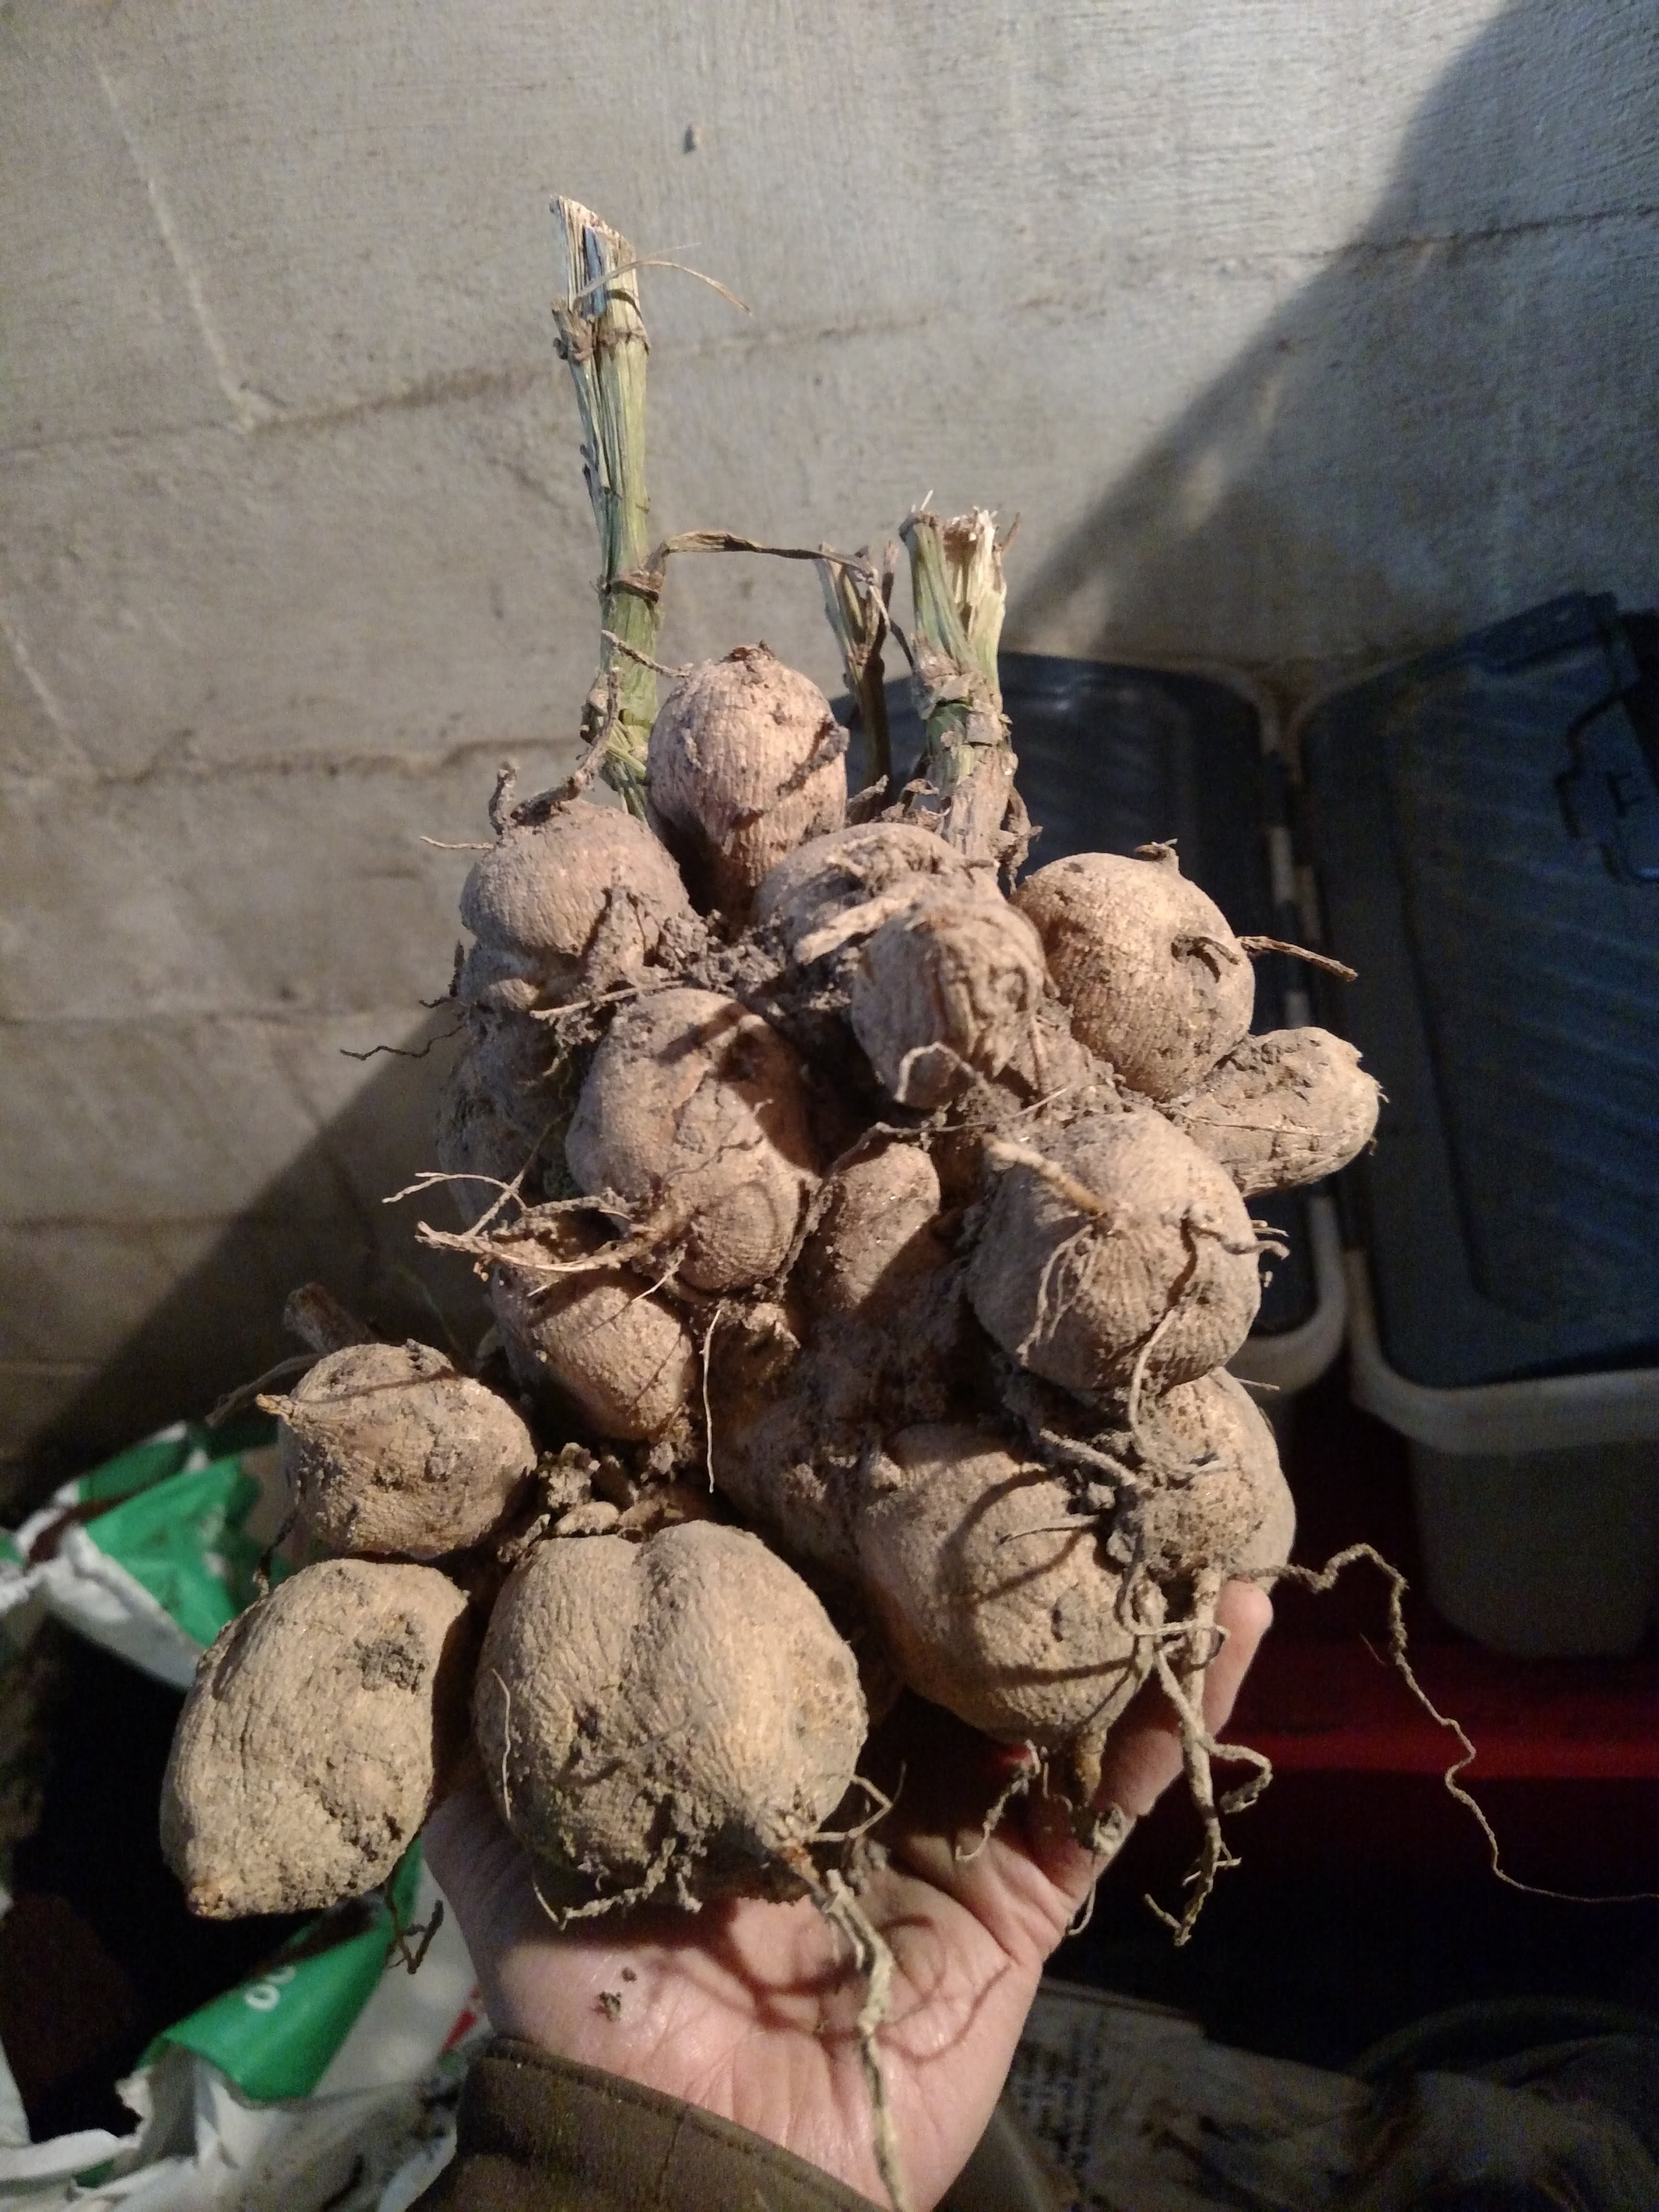
After a few weeks of being left alone, dig up your tubers. It is always surprising to see how many tubers have been produced from a single tuber planted the previous spring. Be sure to give yourself plenty of clearance (approx 12” diameter) so you don’t accidentally chop the ends off your tubers.
Once your tubers have been dug, gently remove the caked on mud and dirt with a soft brush. Clean off as much soil as possible. Any remaining soil on the tubers increases the risk of rot during winter storage. Once the tubers are cleaned, arrange the clusters in a sheltered area with decent air circulation, but safe from risk of freezing. Allow the tubers to dry in open air for 10 days to two weeks.
Processing the Tubers:
You will need:
- Plastic shopping bags or sealable containers
- Sulfur Fungicide powder
- Peat Moss
- Cardboard boxes, or plastic bins with holes drilled in the sides for adequate air circulation
- newspaper
Procedure:
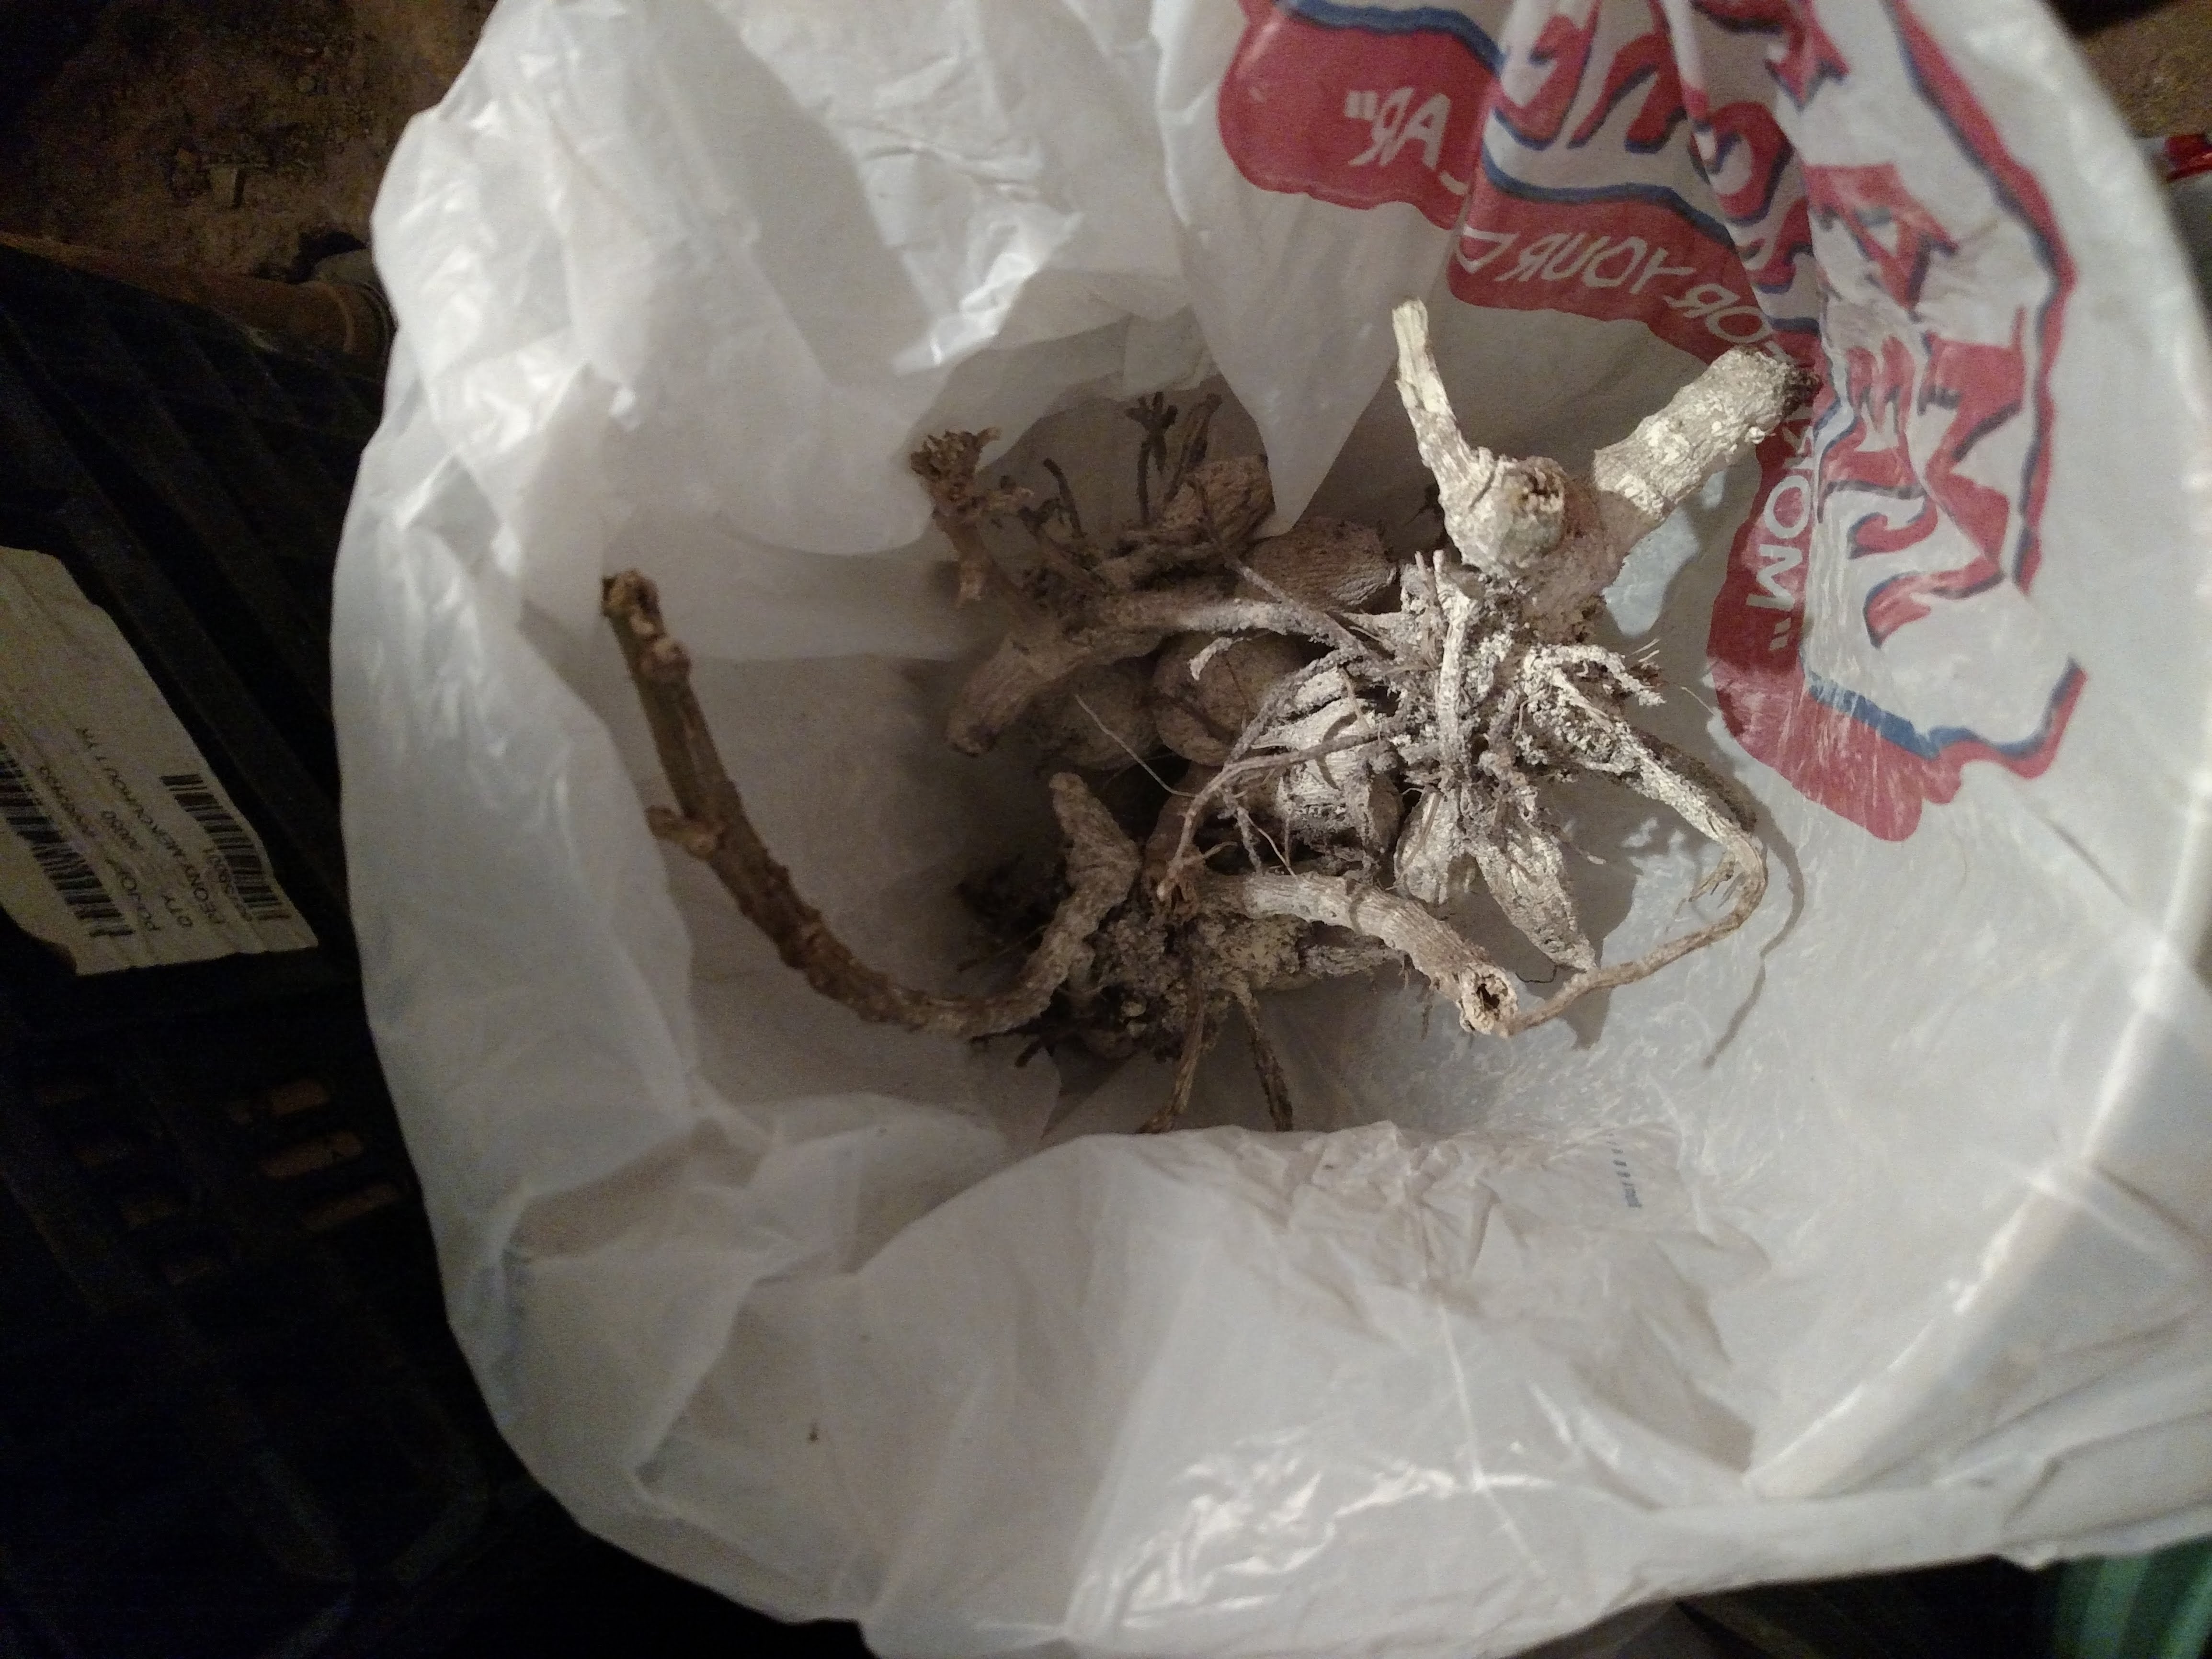
- Inspect the tubers for open wounds or fresh cuts from digging. These blemishes need to be dry before processing. If your tubers have open wounds, they will be more susceptible to rot while in storage over the winter months.
- Coat each tuber cluster with Sulfur fungicide. Be sure to wear gloves and a dust mask. Perform this step in a well-ventilated area. To coat, place the cleaned and dried tubers into a plastic shopping bag or other sealable container, and dust with sulfur. Close the bag and agitate to coat the entire surface of the tubers. Sulfur is another measure of protection from rot and any pests that may gain access to the stored tubers.
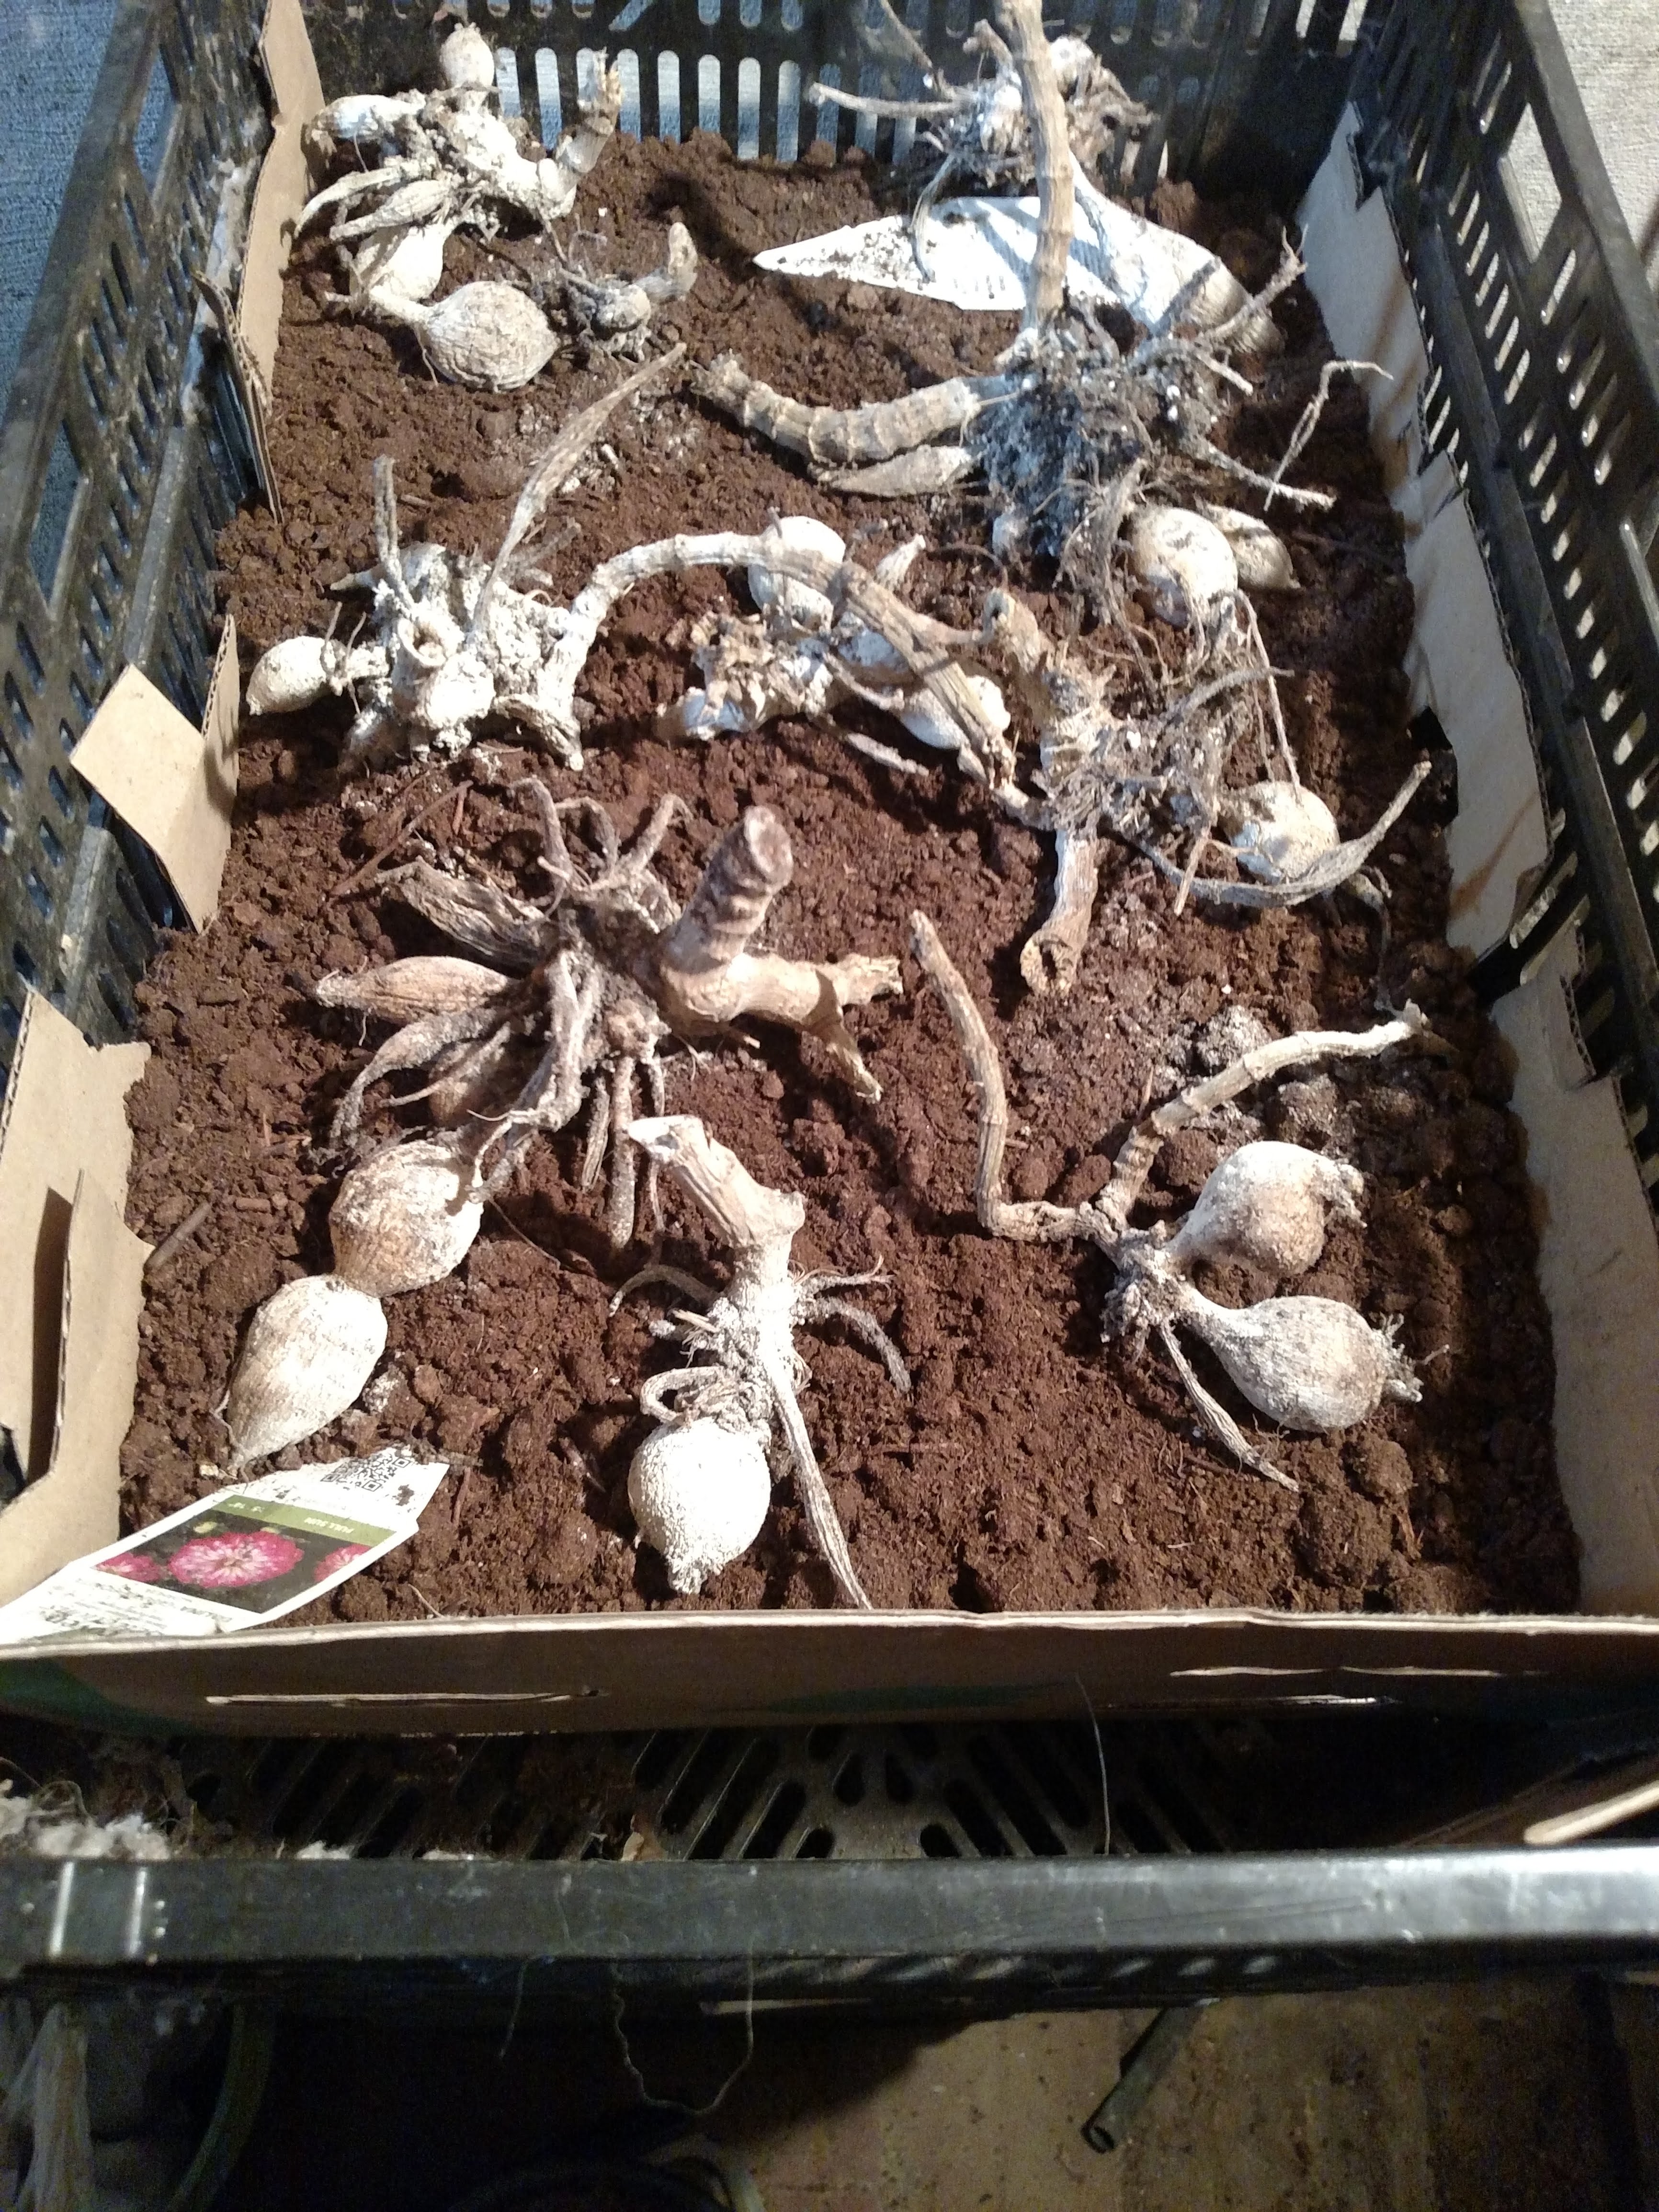
- Cover the bottom of the box with approximately ½” of Peat Moss.
- Place as many tubers as will fit without touching one another.
- Cover with Peat Moss
- Place a layer of newspaper over the peat moss layer
- Repeat this pattern of layering until the box is full
- Store your tubers in a cellar or closet between 45-55 degrees. Check your tubers periodically throughout the winter for signs of over drying, or rot. If any of the clusters are succumbing to rot, remove and discard. If tubers are too dry, use a fine mist spray to moisten the peat and gently re-hydrate the tubers.
In Spring:
- When tubers are removed from winter storage it’s time to divide the clusters for planting. Wait to divide until the spring to account for any loss from overwintering.
- Evaluate the clusters, removing any dry rotted tubers, checking for eyes at the base of the old stalk.
- With a sharp knife. Place the tuber stalk side down and cut the clusters making sure there is at least one eye on each division.
Once soil temperatures reach 60 degrees it’s time to plant your dahlias
- Dig a hole so the tubers sit six inches below the soil surface.
- Cover with approximately 1 inch of soil. Water sparingly when planted.
- Continue to add soil and water as new growth appears.
- Fertilize with plant tone or other organic fertilizer when the plants reach 2 inches in height.